WiseCleaner Think Tank
Encounter difficult computer problems?
All about maintenance and optimization of your Windows System.
May 20, 2025
Memory Integrity, also known as Core Isolation, is a security feature in Windows 10 and Windows 11. When Memory Integrity is enabled, it uses virtualization-based security (VBS) to create a virtualized environment that is separate from the rest of the operating system, making it more difficult for malicious software to exploit. Stay with us to catch hold of the simple steps to enable Memory Integrity on Windows 11.
To enable the memory integrity feature on your Windows 11, turn on the hardware virtualization in UEFI or BIOS first and then follow these steps:
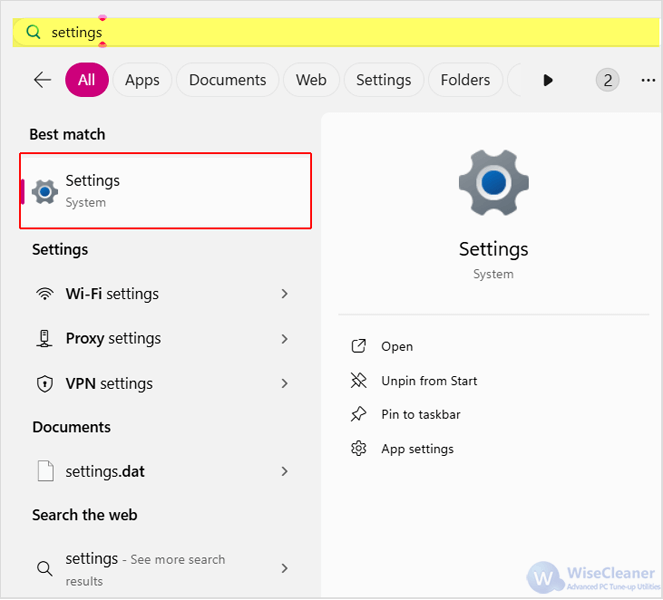
Open the Start menu by pressing the Windows key on your keyboard. Type Settings in the search bar and select the app from the search results.
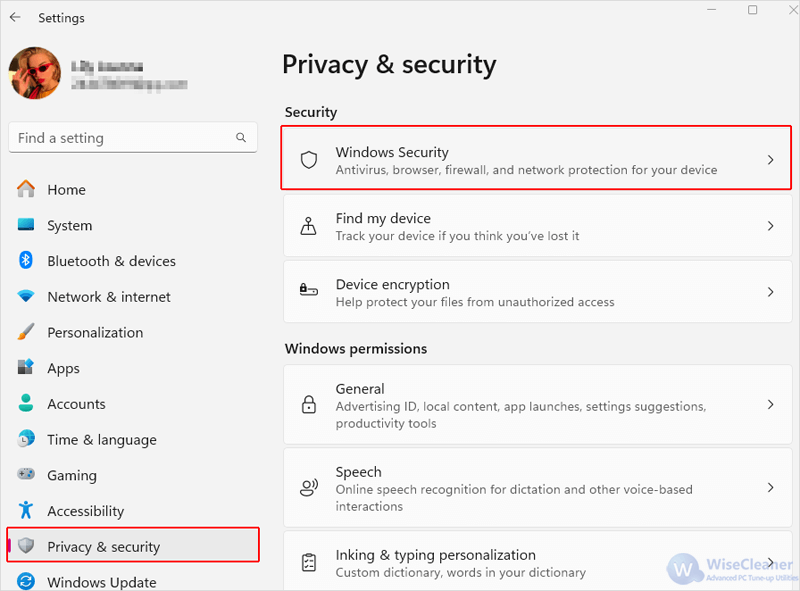
From the left-side pane, click on the Privacy & security tab, and then select the Windows Security option from the right.
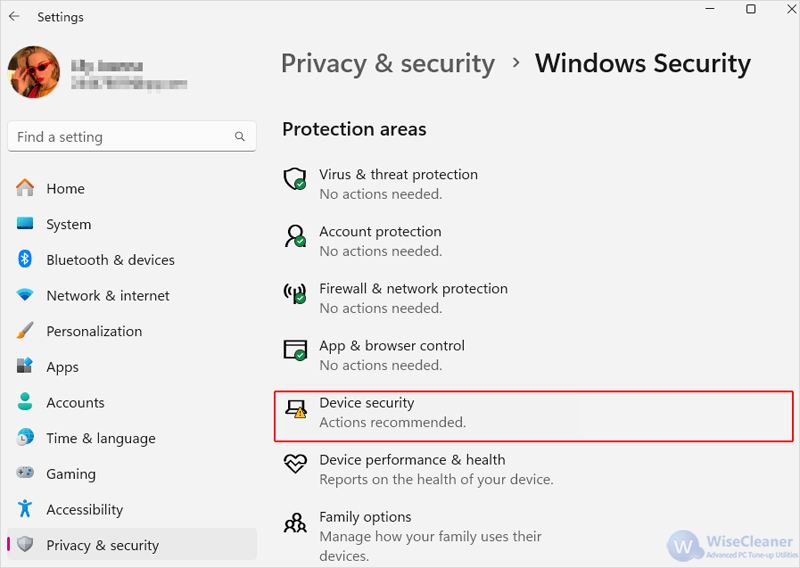
From there, scroll down and click Device security to open the Windows Security window.
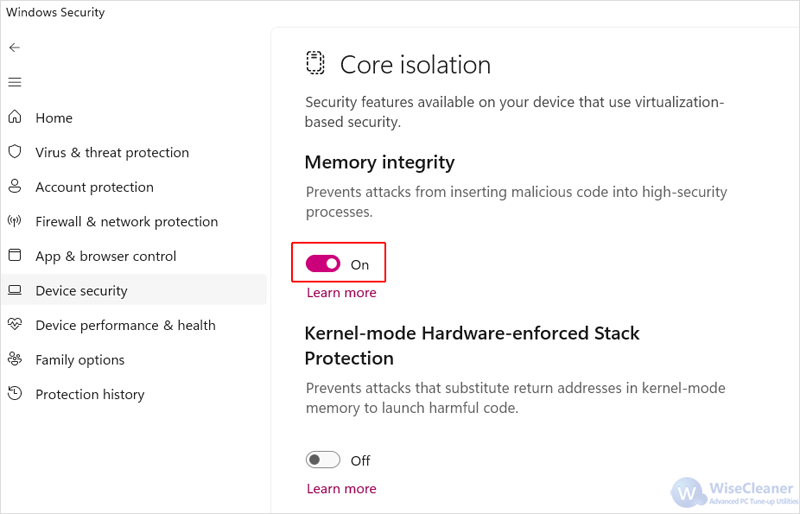
Then click on the Core isolation details option.
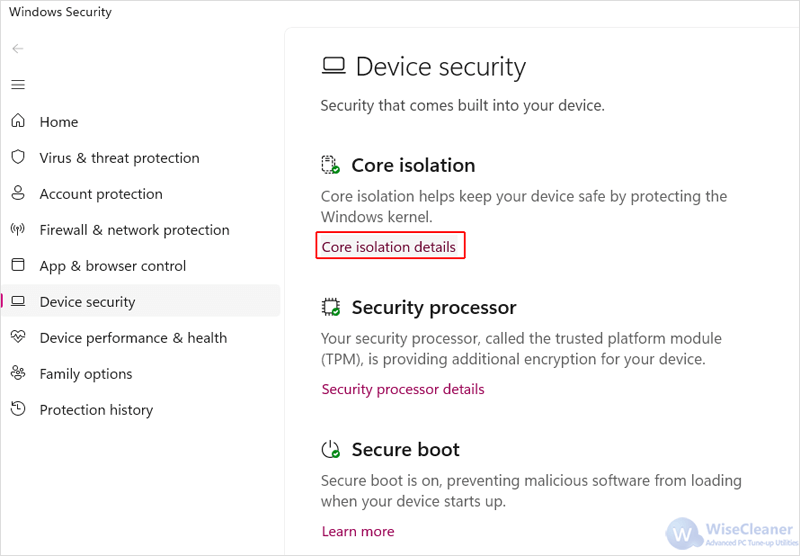
To enable the feature, toggle the switch of Memory Integrity to on.
This is how to turn on Memory Integrity on a Windows 11 PC to provide an additional layer of protection against sophisticated attacks.
While Memory Integrity is a powerful security feature, it can sometimes cause compatibility issues with older drivers or software that are not designed to work with this level of security. If you encounter issues after enabling it, you may need to update or replace any incompatible drivers or software.
wisecleaner uses cookies to improve content and ensure you get the best experience on our website. Continue to browse our website agreeing to our privacy policy.
I Accept


